NM3DPPFC – Design, test, repeat…
In order to 3D print objects, they first need to be designed using Computer Aided Design (CAD) software. From there, the parts can be printed and assembled. I have limited experience with CAD from my days in high school robotics using SolidWorks. However, a license for SolidWorks typically costs $2,820 per year. Similarly, Fusion 360 costs $680 annually. The next option I explored was FreeCAD. True to its name, it's completely free. While not as intuitive or convenient to use as SolidWorks or Fusion 360, it proved capable enough for creating a basic design.
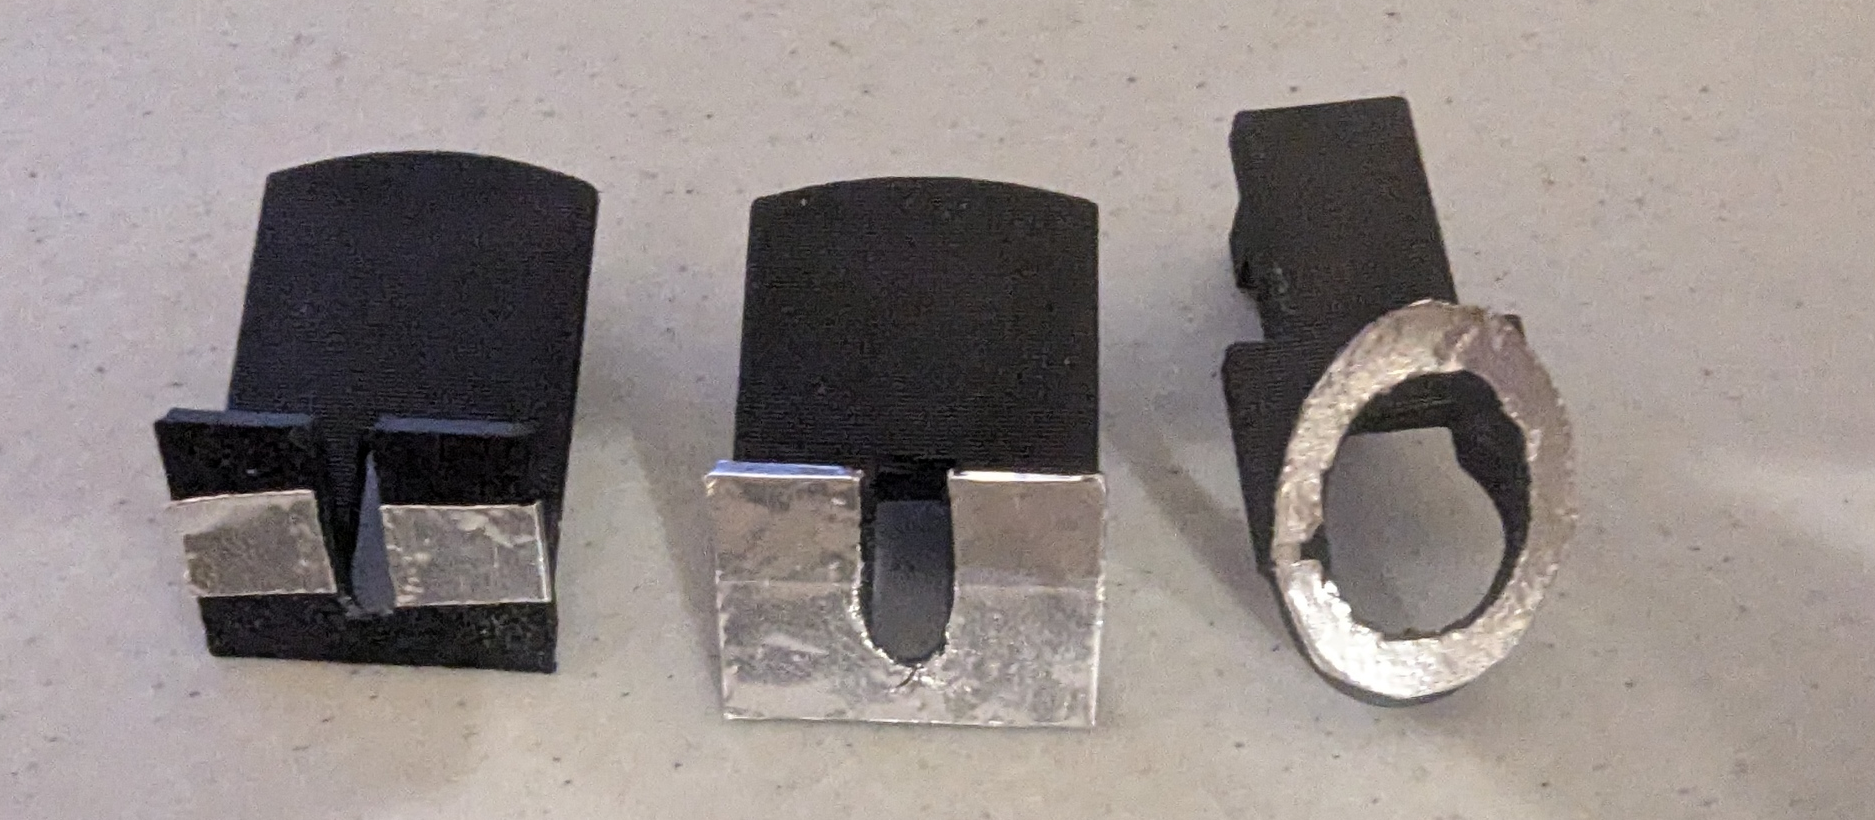
After receiving the lens, I modeled and printed a custom housing and lens holder to test the lens's capabilities. Additionally, I designed a reflector with a U-shaped profile featuring a cutout around the camera axis at a 45-degree angle. This design allows light pointed upward to be reflected toward the lens and patient's eye. The reflector was printed using black PLA, and aluminum tape was applied to create the reflective surface.
Initially, I used a flashlight as the light source and a 1080p webcam as the camera. However, after multiple attempts, I wasn't able to visualize the retina - not even the red reflex was visible.
I made several refinements to improve the system. I replaced the flashlight with two off-the-shelf 5mm white LEDs controlled by an ESP32 and switch. Additionally, I fine-tuned the barrel length, light brightness, light reflector positioning, and light blocker configuration in an attempt to find the optimal settings for capturing fundus images.
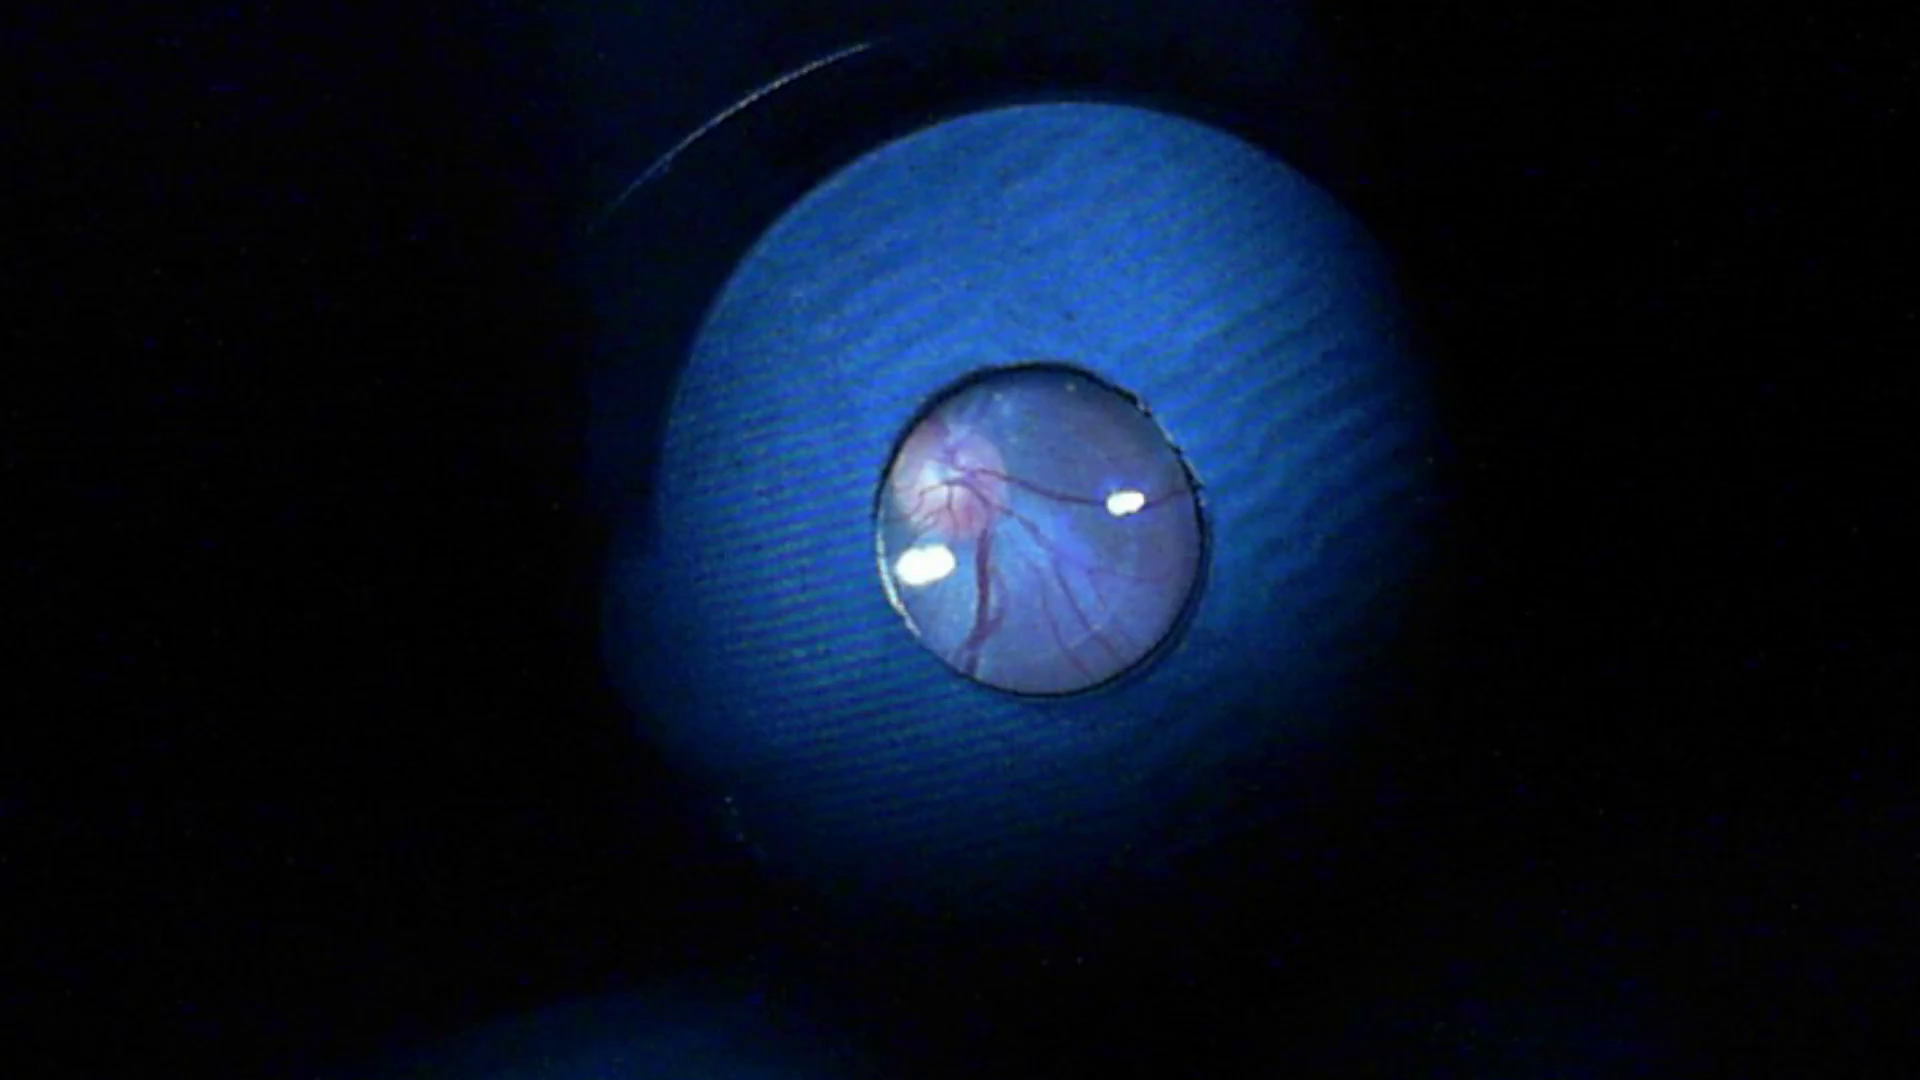
Slowly but surely, I began making progress. First, I was able to see the red reflex. Then, after numerous trials and variations, I finally managed to capture a fundus image. On test 39, using a light reflector with a 4mm hole, a light blocker to eliminate unwanted reflections, and a total barrel length of 250mm, I captured the image shown below.
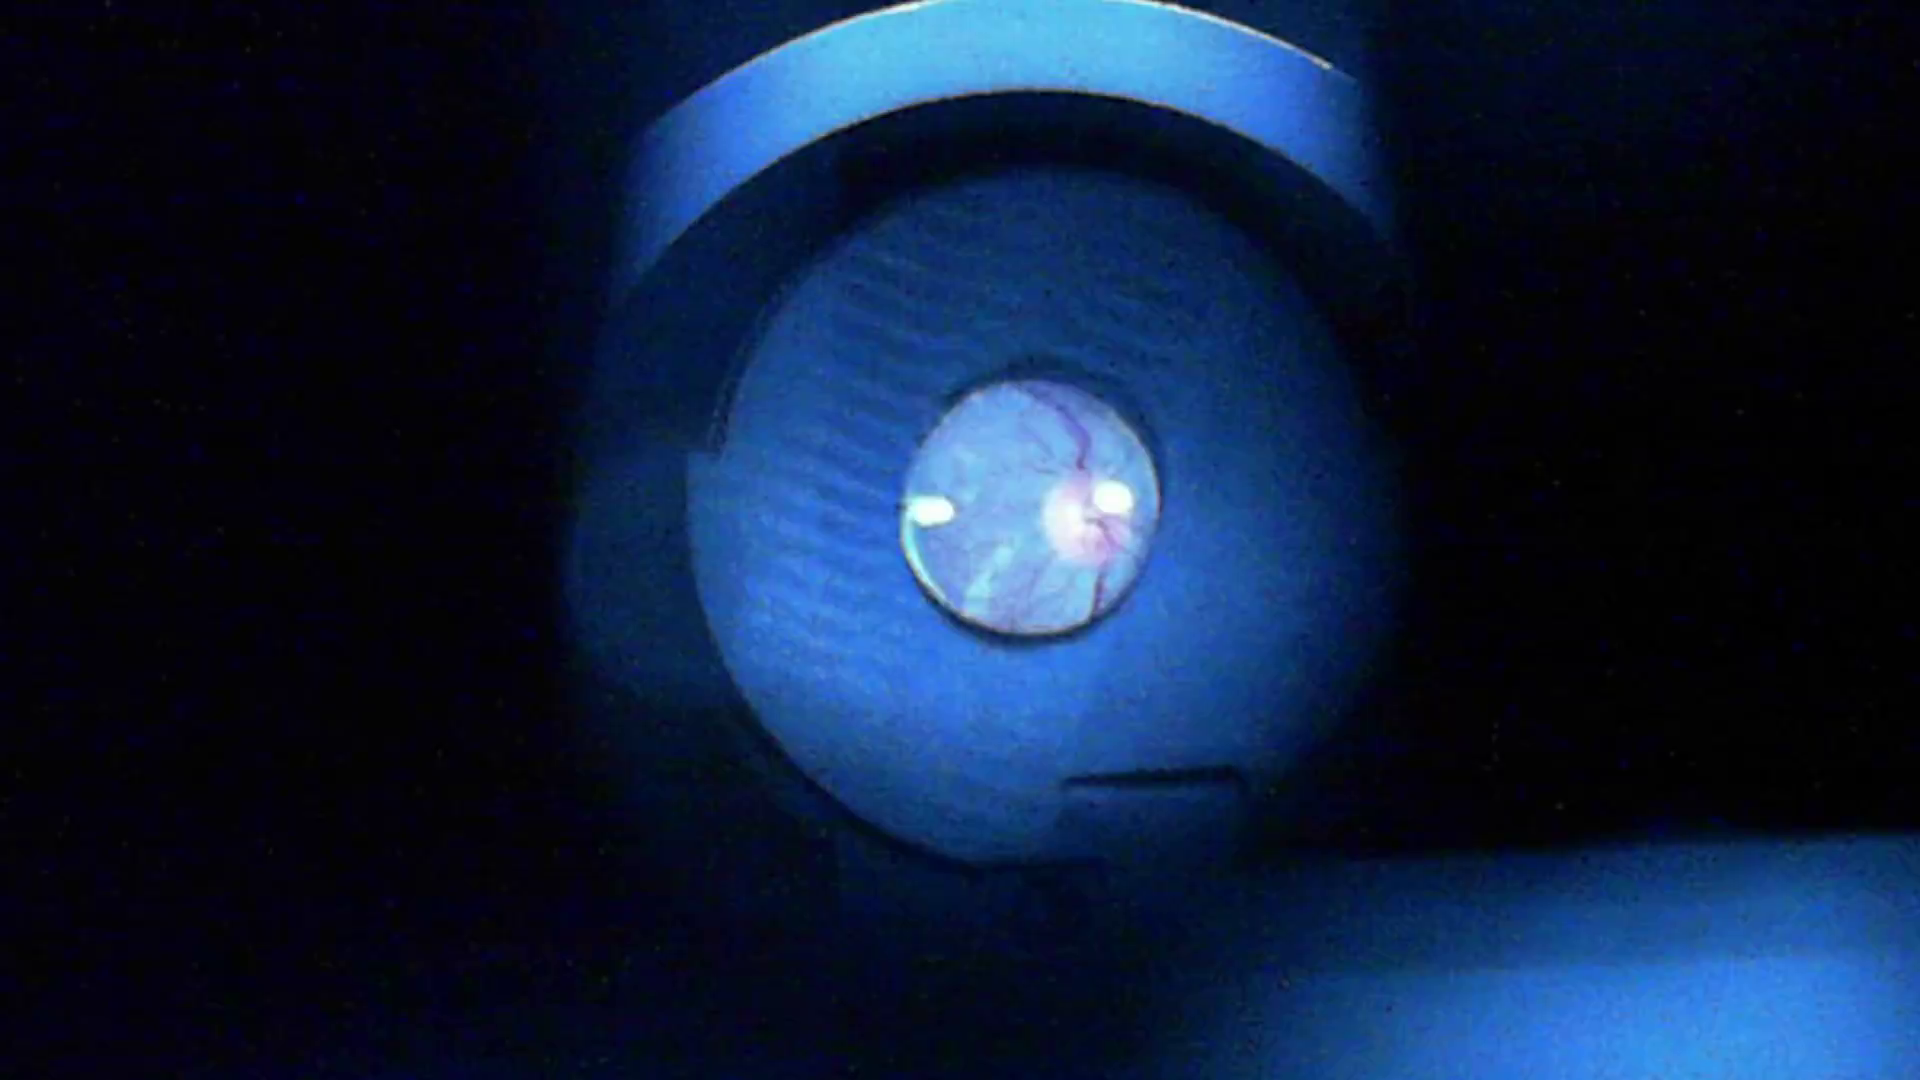
While it may not look like much, I was absolutely ecstatic. This represented the culmination of four months of trial and error. Now that I knew I could capture images using the eBay 20D lens, I could focus on refining the image quality. However, before moving forward, I wanted to reproduce this result to ensure it wasn't a fluke and that I could reliably obtain fundus images. Test 40 confirmed that I was able to successfully reproduce the previous result (below).